How to use the Sync features
📖 This feature helps control how and when the store data is synced.
On this page
Overview
This Overview tab allows you to manually trigger immediate sync in a certain scope.
Sync recent updates
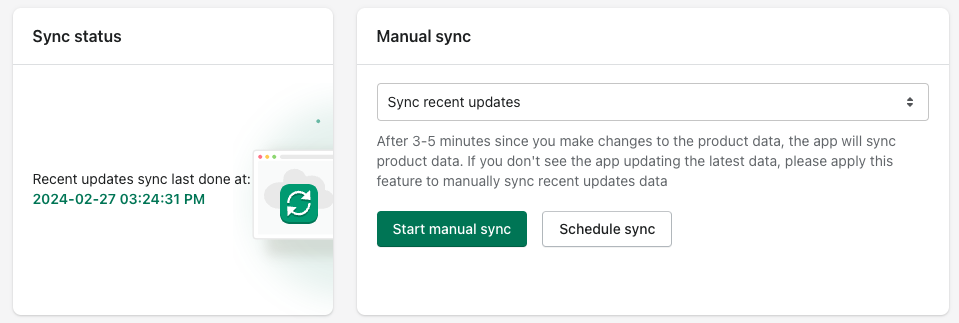
- Sync recent update is the process used for updating changes in your product data and some other app settings in general. We trigger this sync automatically and frequently every couple of minutes, so rest assured that your product data is updated all the time.
- In the case where you need to see your changes reflected immediately right after changing product data or app settings, please trigger this Sync recent update process. The duration of this sync process is varied depending on the number of products in your store.
Sync multiple language data
Only available for stores using the Multiple language feature.
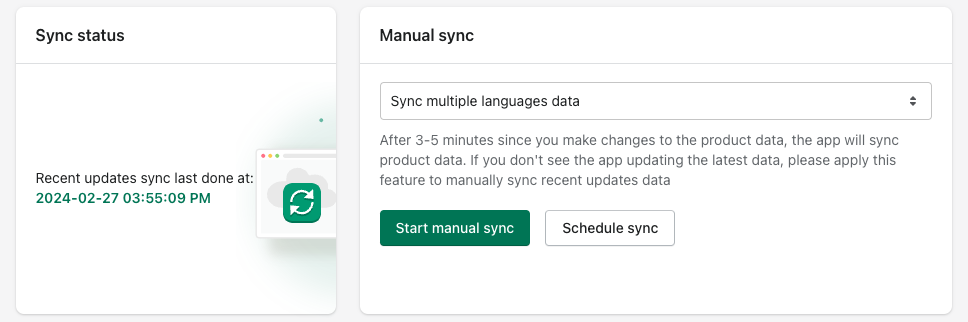
Please make sure that the Multiple languages/Translation app has been well installed on your theme before proceeding with integration.
The duration for the sync multiple languages feature is long because it will update translations of all products. Therefore, please make all the necessary changes to the products' multiple languages before clicking the Sync button.
Sync multiple currencies data
Only available for stores using the Multiple currencies feature.
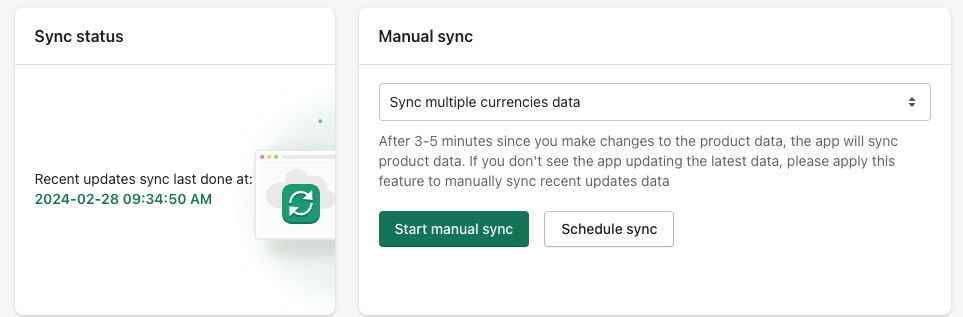
If the price on your store is not converting, rounding or displaying correctly please use the Sync multiple currencies data feature to make it right. Shopify has also recently updated some more attributes to the multiple currencies feature, therefore, if it doesn't work even after syncing, please contact us for manual support at support@boostcommerce.net.
Sync product item custom layout
Only available for stores using custom HTML codes for product item layout
If you're using custom code to modify the display of your product item, you may need to use this sync process to update the product item layout and prevent any unwanted layout issues on your frontend store.
Sync best-selling
Your best-selling product is determined based on the all-time number of orders that include the product. If you have not sold any product yet and selected this sorting option (Best-selling), this will sort your products from Newest to Oldest instead. [Learn more from Shopify article]
Normally, our app shows the sorting order exactly like the orders in your admin. However, if your collection is in Best-selling order, it requires some tweaks to make it work more flawlessly because Shopify does not return the Best Selling ranking like other sorting types, and it requires us to get it by metafield, instead. Please follow exactly like the guide below to sync the best-selling order on all the themes that have our app.
- 1
- Create your Boost All collection in your Shopify admin
From your Shopify admin, create an automatic collection with the details below:
- Name: Boost All
- Condition: Product price is greater than -1
- Sort: Best selling
- URL and handle: boost-all
- (optional) If you want to hide this
- from SEO, feel free to follow this Shopify guide.
- from your online store, you could un-tick the Online Store in the Collection availability section
Here's an example of this collection:

- 2
- Sync best selling order with Boost AI Search & Discovery app
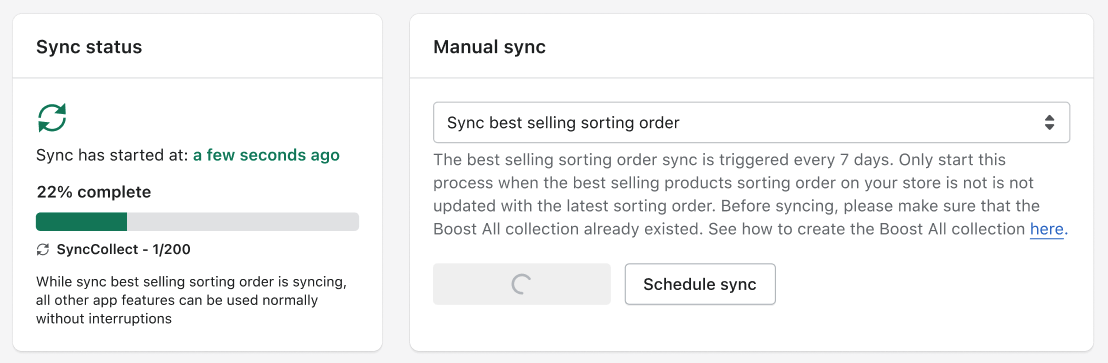
- Go to Boost AI Search & Discovery app. Select Sync > Sync Overview from the Cog icon menu.

- From the sync type drop-down, select the Sync best selling sorting order option. And Select the Sync best selling sorting order button.
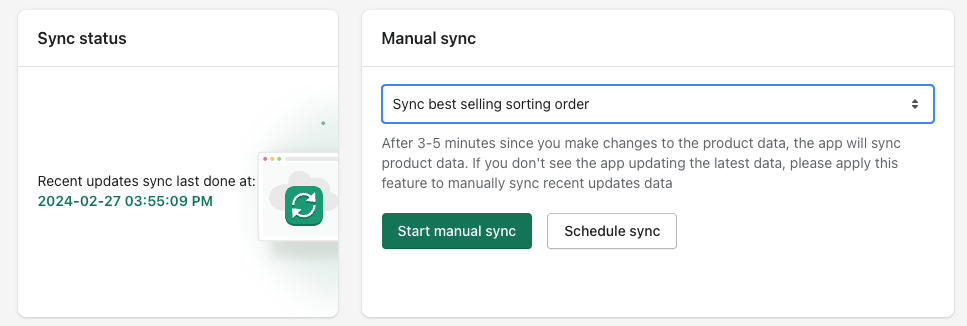
- Wait it out a little. The sync duration depends on how many products you've got.
- When completed please check if your sorting order's correct. If you need more help please let us know at support@boostcommerce.net

After following the steps, our sync will base on the Boost All collection. Please don't change the conditions of this collection or remove it, as our app needs it for the sorting feature to work properly.
Sync schedule
Here are the steps to create a sync schedule.
- Go to Sync > Sync Overview
- On the Manual Sync section > select the Sync type you'd like to schedule from the dropdown > Click on Schedule sync button

💡 In Sync schedule dashboard, On Select the Sync type, you can still edit the Sync type from the dropdown.

- Set the Start date & Start time for your sync schedule.
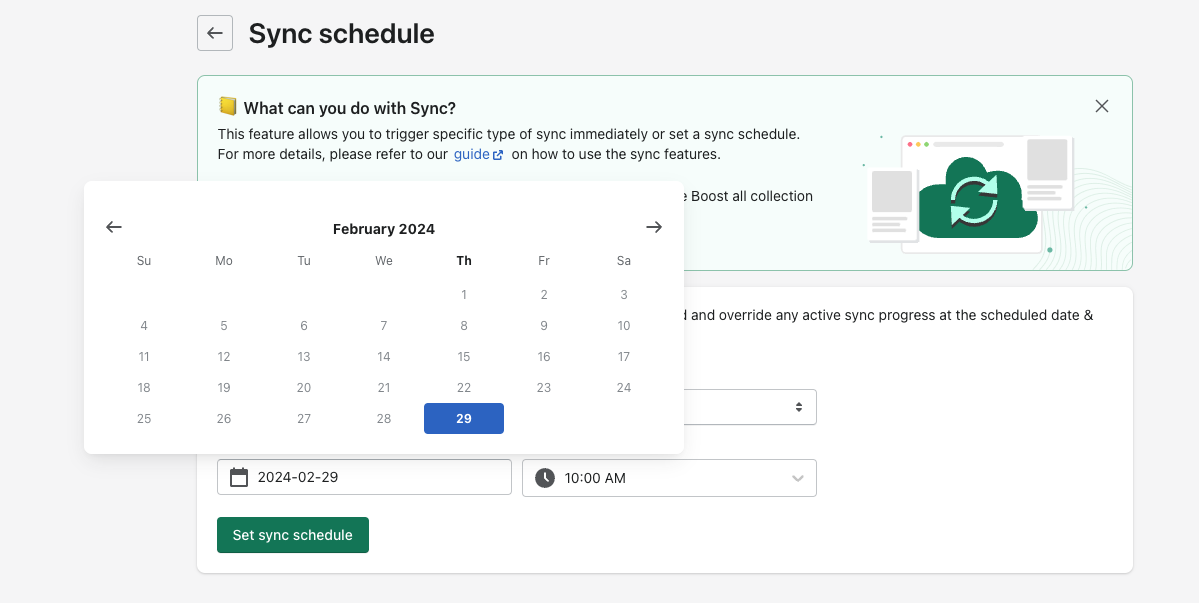
- Click Set sync schedule and you're all set.
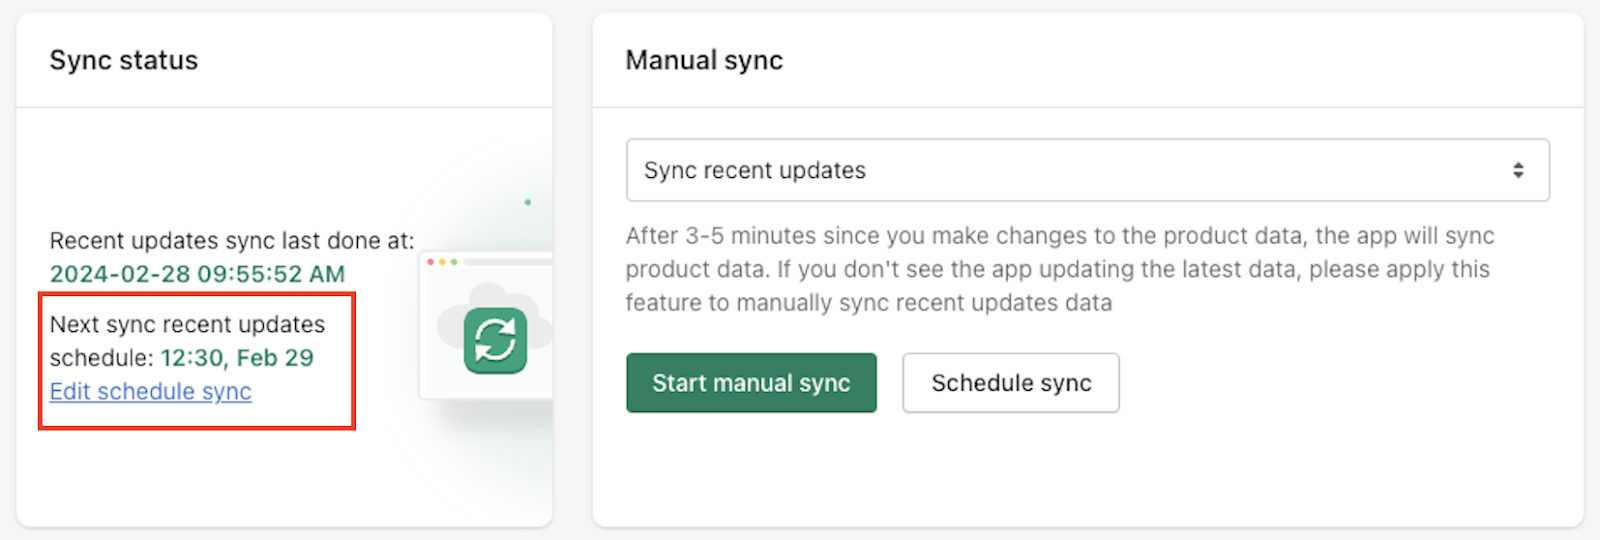
Once you have finished setting up a sync schedule, if you'd like to edit it, click Edit sync schedule. To remove it, click Remove sync schedule.

💡 On the Sync status block, you can also see the schedule sync and edit it there by clicking Edit schedule sync.
Sync history
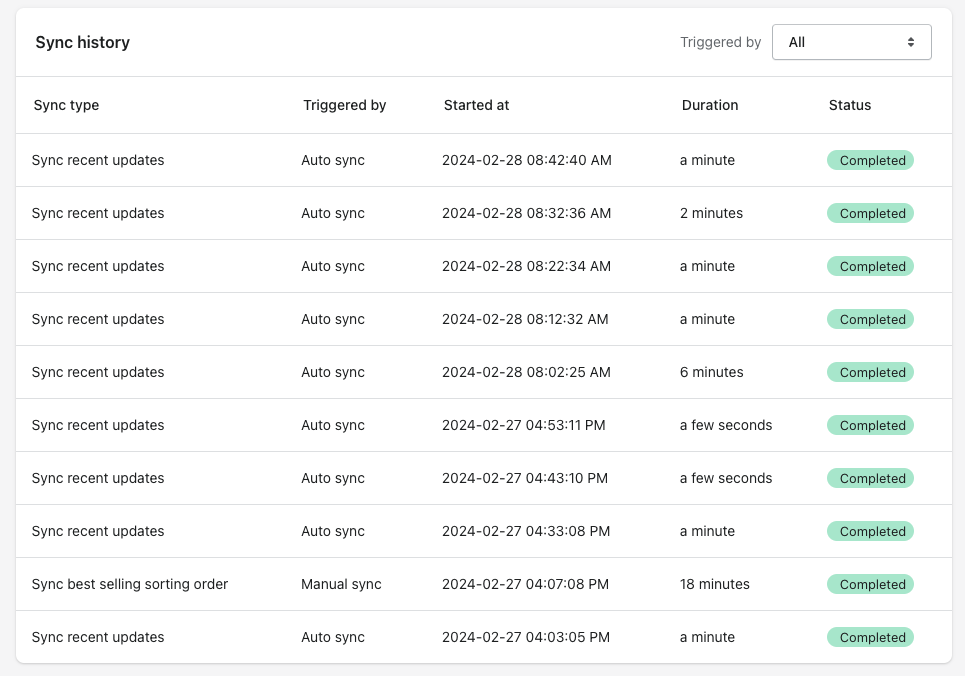
Sync history displays all records of Manual sync, Auto-sync, and Scheduled sync in the last 30 days. A Sync event thumbnail includes:
- Sync type
- Triggered by Manual sync, Auto-sync, or Scheduled sync
- Time of sync event
- Sync Duration
- Status
Sync settings
Overview
⚠ This feature only applies for Auto Sync.
Ensure your key products are immediately visible by prioritizing collection syncs in your storefront. Our new feature allows you to select up to 10 collections for priority syncing, ensuring they update swiftly and appear first to your customers.
How to use
- To access Boost's Sync settings
- From our app admin, go to Sync > Sync settings from the Cog icon menu.

- Click the Add collection button to select your key collections.
- From the dropdown, select the collection you'd like to prioritize.

- Repeat the above steps to add more collections to prioritized syncing.
- To delete a collection, click the trash bin icon button below the Actions column.

- Click Save to save your changes.
⚠
- Maximum number of prioritized collections you can add is 10.
- Prioritized collections will always sync first during Sync recent updates event.
- Two separate sync histories will track prioritized and standard collections.
If you have any questions or need further assistance, please do not hesitate to contact our dedicated support team at support@boostcommerce.net.